Understanding Bond Cleaning Basics
What is Bond Cleaning?
Bond cleaning, often referred to as end-of-lease cleaning, is a thorough cleaning process that tenants are usually required to undertake when vacating a rental property. This specialized cleaning aims to ensure the property is returned in its original condition, as stipulated in the lease agreement, allowing tenants to reclaim their full bond deposit. A successful bond cleaning involves meticulous attention to detail, covering all areas of the property to meet the high standards expected by landlords and property management agencies.
Key Reasons for Bond Cleaning
There are several compelling reasons for undertaking bond cleaning:
- Recovering the Bond: The primary motive for bond cleaning is to ensure the tenant receives their full bond back. Any damages or lack of cleanliness can lead to deductions from the bond amount.
- Meeting Lease Requirements: Many lease agreements explicitly require tenants to complete a bond cleaning before moving out. Failing to adhere to these terms can result in disputes with landlords.
- Goodwill with Landlords: Leaving a property in immaculate condition can foster positive relationships with landlords, leading to favorable references for future rentals.
- Minimizing Stress: Performing a comprehensive clean at the end of a lease can reduce stress for tenants as it ensures that they exit the property without worrying about potential issues arising during the final inspection.
Essential Tools for Effective Bond Cleaning
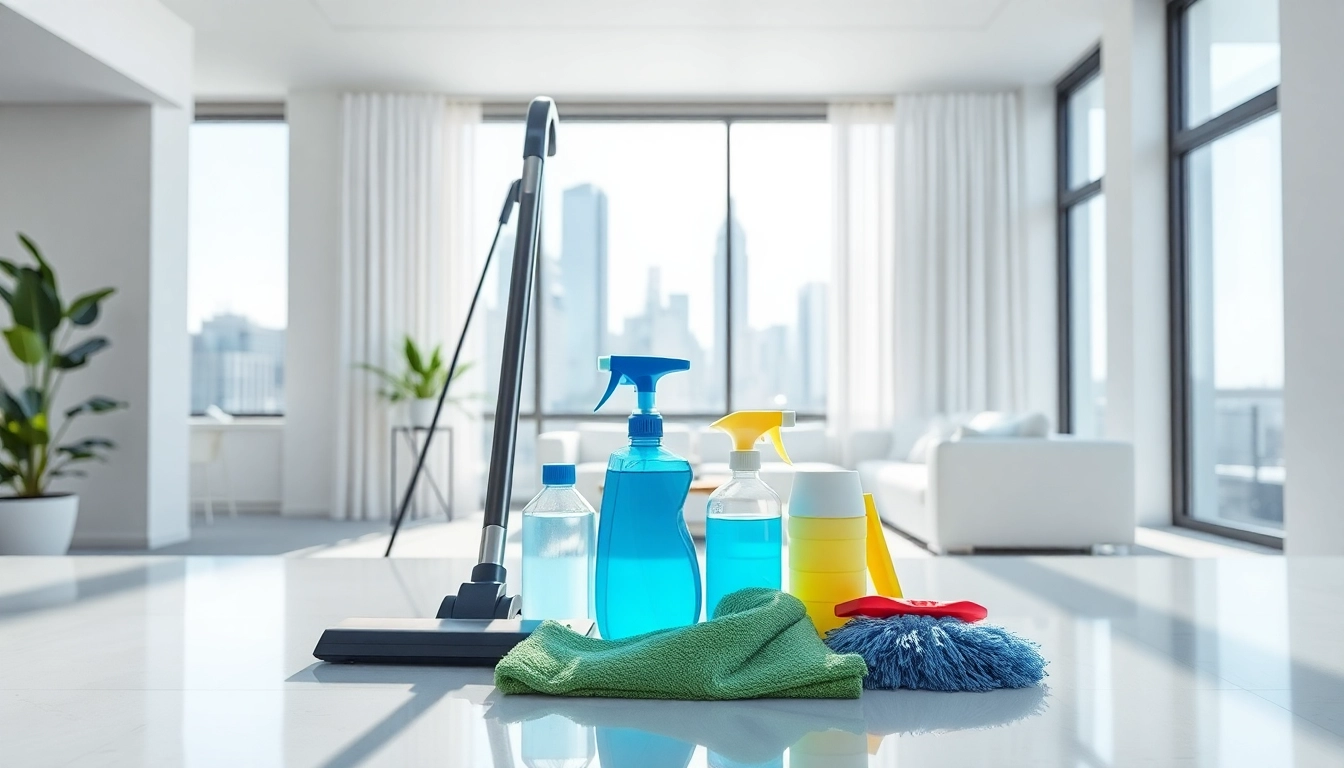
Equipping yourself with the appropriate tools is essential for a successful bond cleaning. Here are some must-have items:
- General Cleaning Supplies: All-purpose cleaner, glass cleaner, disinfectants, and scrubbing brushes.
- Floor Cleaning Equipment: Mops, vacuum cleaners, brooms, and floor polishers for various flooring types.
- Specialized Tools: Steam cleaners for carpets and upholstery, and grout brushes for bathrooms.
- Protective Gear: Gloves, masks, and safety goggles to protect yourself from harsh cleaning chemicals.
Preparing for a Successful Bond Cleaning
Creating a Cleaning Checklist
A well-structured cleaning checklist is fundamental for ensuring no area is overlooked during the bond cleaning process. Here’s a suggested checklist:
- Kitchen: Clean appliances (oven, microwave, fridge), wipe down cabinets, and sanitize surfaces.
- Bathrooms: Scrub toilets, sinks, and showers; clean mirrors and disinfect surfaces.
- Living Areas: Dust surfaces, vacuum carpets, and clean windows.
- Bedrooms: Change bedding, dust furniture, and ensure closets are clear.
Assessing the Property Condition
Before beginning the cleanliness, it is crucial to assess the property’s condition to identify specific areas that require more attention. Look for:
- Signs of wear and tear, such as scuff marks on walls or damaged fixtures.
- Areas with accumulated dirt or grime, especially in high-traffic zones.
- Feedback from previous rental inspections, identifying areas highlighted for improvement.
Gathering Necessary Supplies
Once you have your checklist and have assessed the property, gather all the supplies needed for the cleaning process. Ensuring that all cleaning supplies are at hand will save time and effort during the cleaning day.
Step-by-Step Guide to Bond Cleaning
Room-by-Room Cleaning Process
A meticulous approach to cleaning enhances efficiency. Here’s how to tackle each room:
- Kitchen: Start by decluttering, then clean appliances. Use specialized cleaners for the oven and fridge. Sweep and mop the floor last.
- Bathrooms: Apply cleaning products to sinks and showers and allow them to soak. Spray tile cleaner on surfaces, then scrub while the cleaning agent is effective.
- Living Areas: Dust every surface, including baseboards, and clean any marks on the walls. Vacuum and mop the floors.
- Bedrooms: Strip beds and vacuum under the bed. Dust all surfaces before finalizing with floor cleaning.
Techniques for Deep Cleaning
Deep cleaning techniques can vary by surface and item. Here are some techniques to employ:
- Spot Cleaning Carpets: Treat stains with appropriate cleaning solutions before vacuuming.
- Pressure Washing: For outdoor areas and surfaces, pressure washing can effectively remove dirt and mildew.
- Disinfecting: Pay special attention to frequently touched surfaces such as doorknobs, switches, and handles.
Common Areas to Focus On
During bond cleaning, certain areas often require additional attention due to their tendency to accumulate dirt:
- Behind appliances in the kitchen.
- Underneath sinks and bathtubs.
- Inside cupboards and drawers.
- Air vents and ceiling fans.
Avoiding Common Bond Cleaning Mistakes
Neglecting Critical Areas
One of the most common pitfalls in bond cleaning is omitting specific areas. A comprehensive strategy is necessary to avoid missing critical spots that could lead to bond deductions.
Using the Wrong Cleaning Products
The use of inappropriate cleaning products can damage surfaces or leave residues that might not be acceptable. Always check labels and ensure that you utilize the correct products intended for specific materials (e.g., wood, tile, and stainless steel).
Rushing the Cleaning Process
The pressure to clean quickly can lead to superficial cleaning and missed areas. Allow ample time for each room and do not hesitate to revisit areas that may require additional attention.
Post-Cleaning Considerations and Tips
Conducting a Final Inspection
Once the cleaning is complete, perform a methodical inspection of the property to ensure all tasks on your checklist are completed. Consider employing a second pair of eyes to catch anything you might have missed.
Ensuring All Requirements are Met
Check that all requirements laid out in the lease agreement are fulfilled. This may involve reviewing what is required for your particular rental situation, as different landlords may have varying expectations.
Preparing for the Final Walkthrough
Finally, prepare for the walkthrough with the landlord or property manager. It is beneficial to be present during this process to address any concerns they may have immediately.